Intertek Timer Instructions: Simplified Guidance for Hassle-Free Time Management
Introduction
In our fast-paced lives, efficient time management is crucial. Intertek timers offer a convenient solution to help you control various electrical devices. However, understanding and utilizing these timers effectively can sometimes be challenging. In this article, we’ll provide you with comprehensive Intertek timer instructions, ensuring that you can harness their full potential to make your daily routines more manageable.
Getting to Know Intertek Timers
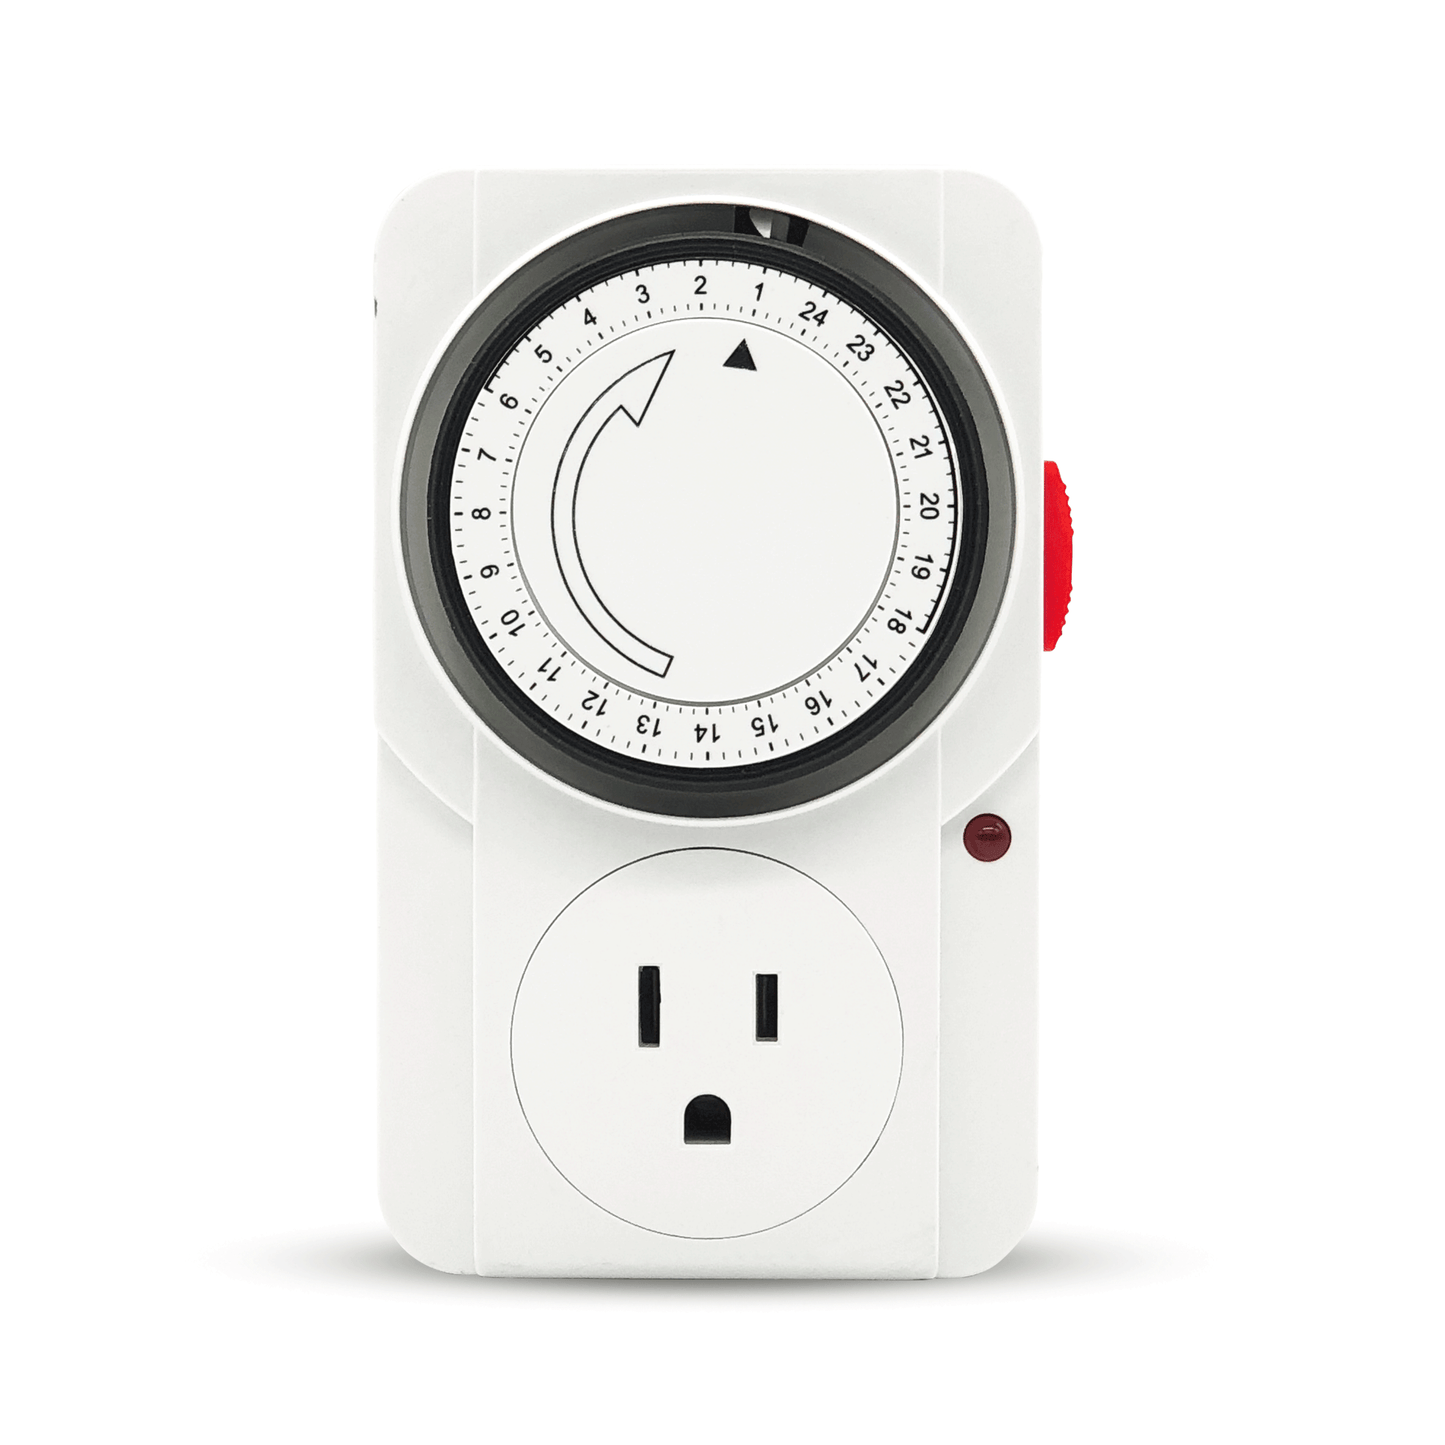
Before diving into the specifics, let’s acquaint ourselves with Intertek timers. These devices are versatile tools designed to automate the operation of various electrical appliances, from lights and fans to garden equipment and more. With Intertek timers, you can set schedules, ensuring that your devices turn on or off at predefined times.
Setting Up Your Intertek Timer
Step 1: Unpacking and Inspection
Upon purchasing an Intertek timer, carefully unpack the contents. Inspect for any visible damage or missing components. Ensure you have the timer itself, the instruction manual, and any additional accessories.
Step 2: Reading the Manual
Before proceeding, take a moment to read the instruction manual thoroughly. Understanding the terminology and features of your specific timer model is essential for correct usage.
Step 3: Power Source
Intertek timers typically require a power source, such as batteries or a wall outlet. Ensure that your timer has the necessary power supply connected and functioning correctly.
Step 4: Initial Setup
Access the timer’s settings by following the instructions in the manual. You may need to press specific buttons or navigate through a menu. Configure the timer according to your preferences, setting the current time and date.
Programming Your Intertek Timer
Step 5: Setting Daily Schedules
One of the primary functions of an Intertek timer is to create daily schedules. Determine which electrical device you want to control and specify the time you want it to turn on and off.
Step 6: Advanced Features
Depending on your timer model, you may have access to advanced features such as random settings, countdown timers, or daylight saving time adjustments. Consult your manual to explore these options and tailor them to your needs.
Troubleshooting Tips
Step 7: Common Issues
Sometimes, you may encounter issues with your Intertek timer, such as it not turning on or off as expected. Check for common problems, such as incorrect time settings, power supply issues, or device compatibility.
Step 8: Resetting the Timer
If you experience persistent issues, consult the manual for instructions on resetting your timer to its factory defaults. This can often resolve technical glitches.
Conclusion
Intertek timers are valuable tools for managing your daily routines efficiently. By following these simplified instructions, you can harness the full potential of your Intertek timer and enjoy the convenience it brings to your life.
FAQs
- Can I use an Intertek timer with any electrical device? Yes, Intertek timers are compatible with a wide range of devices, but it’s essential to check the timer’s specifications and your device’s requirements.
- Do I need technical expertise to set up an Intertek timer? No, Intertek timers are designed for user-friendly operation, and our step-by-step guide will walk you through the process.
- Can I program multiple devices with a single Intertek timer? Yes, many Intertek timer models support multiple device control, making them even more versatile.
- What should I do if my Intertek timer stops working suddenly? First, check the power source, timer settings, and device compatibility. If issues persist, consult the troubleshooting section of your manual.
- Where can I purchase an Intertek timer? You can find Intertek timers at electronics stores, home improvement centers, or online retailers. Be sure to choose a model that suits your needs.

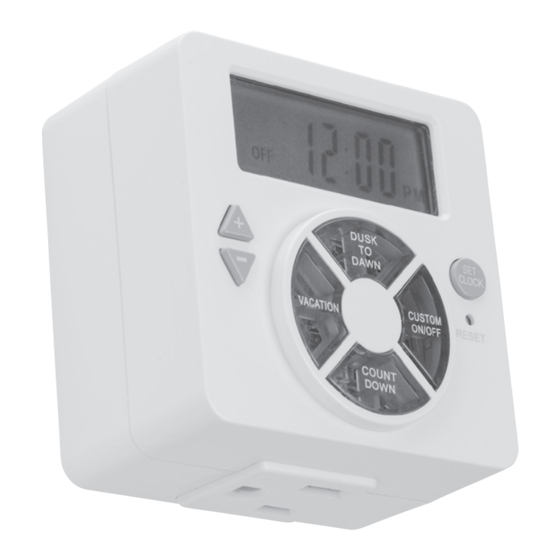
Optimizing Your Daily Routine with the TM-019 Mechanical Timer
In today’s fast-paced world, managing your daily tasks efficiently is crucial. The TM-019 Mechanical Timer is here to simplify your life, ensuring your routine runs smoothly. In this comprehensive guide, we’ll walk you through setting up and utilizing this versatile timer to its full potential.
Setting Your TM-019 Mechanical Timer
Step 1: Setting the Time
To begin, let’s set the current time on your TM-019 Mechanical Timer:
- Locate the “CLOCK” and “HOUR” buttons on the timer.
- Simultaneously press the “CLOCK” and “HOUR” buttons to enter the time-setting mode.
- Use the buttons to adjust the hour to your desired time.
- Confirm the hour by pressing the “CLOCK” button again.
Now that your timer is synchronized with the correct time, you’re ready to customize your schedule.
Step 2: Programming Modes
The TM-019 Mechanical Timer offers several versatile programming modes to suit your needs:
1. Vacation Mode
Ideal for when you’re away from home, the Vacation Mode ensures your devices turn on and off, creating the illusion of an occupied home.
2. Program Mode
In this mode, you can set specific time intervals for your devices to operate. Tailor your schedule to your daily routine effortlessly.
3. Countdown Mode
Need a timer for a specific task? Countdown mode allows you to set a timer for a defined duration, ensuring you never lose track of time.
4. Dawn to Dusk Mode
This mode synchronizes your devices with the natural light cycle, perfect for outdoor lighting and energy conservation.
5. Auto Mode
The Auto mode adapts to your preferences or follows instructions provided in the manual, offering flexibility in operation.
Step 3: Timer Ready
To activate your programmed settings, press the designated button or follow the instructions provided in the manual. Your TM-019 Mechanical Timer will execute your chosen schedule efficiently.
Additional Information
Before using your TM-019 Mechanical Timer, please consider the following:
- Ensure that your electrical system and the timer’s installation method align with the instructions provided in the manual.
- Always refer to the instruction manual for North American installations, and make sure to read and understand it before proceeding.
- For added convenience, the timer offers an option to work from dusk until dawn when pressed four times.
- Keep the instruction manual handy for reference, even if you relocate or sell the timer.
- Exercise caution and follow safety guidelines when using the timer with appliances.
The Defiant TM-019 Mechanical Timer offers a seamless solution for managing your daily routines. Download the UTTND0timer PDF manual for additional details. With its user-friendly interface and versatile programming options, you’ll find this timer to be an invaluable addition to your household.
Invest in convenience and efficiency today with the TM-019 Mechanical Timer by Defiant!