How to program noma timer

How to Program Noma Timer: A Step-by-Step Guide for Efficiency

In today’s fast-paced world, time management has become crucial. Whether it’s for your home or workplace, having the ability to automate tasks can save you both time and effort. One such device that can help you with this is the Noma Timer. In this comprehensive guide, we will walk you through the process of programming a Noma Timer to make your life easier and more efficient.

1. Introduction to Noma Timer

The Noma Timer is a versatile electronic device designed to automate various tasks such as turning on and off lights, appliances, and outdoor equipment. It is a handy tool for homeowners, gardeners, and businesses looking to enhance their energy efficiency and convenience.

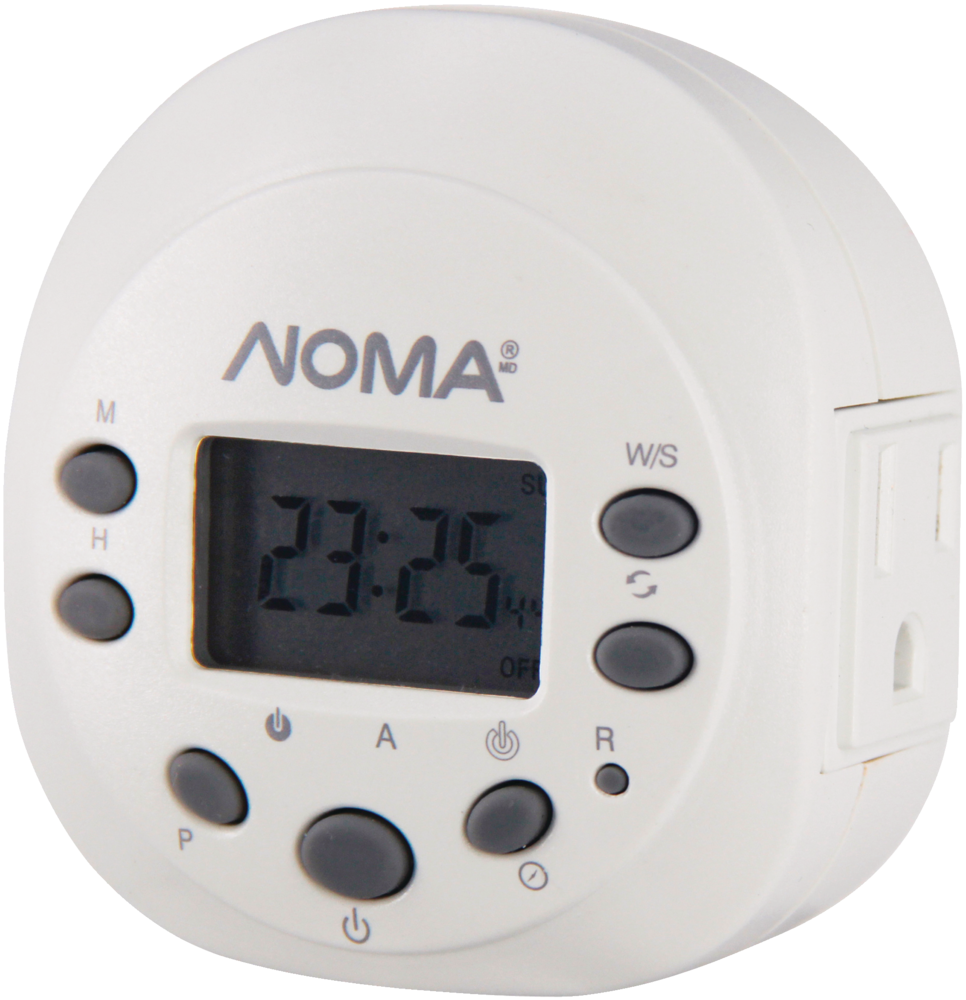
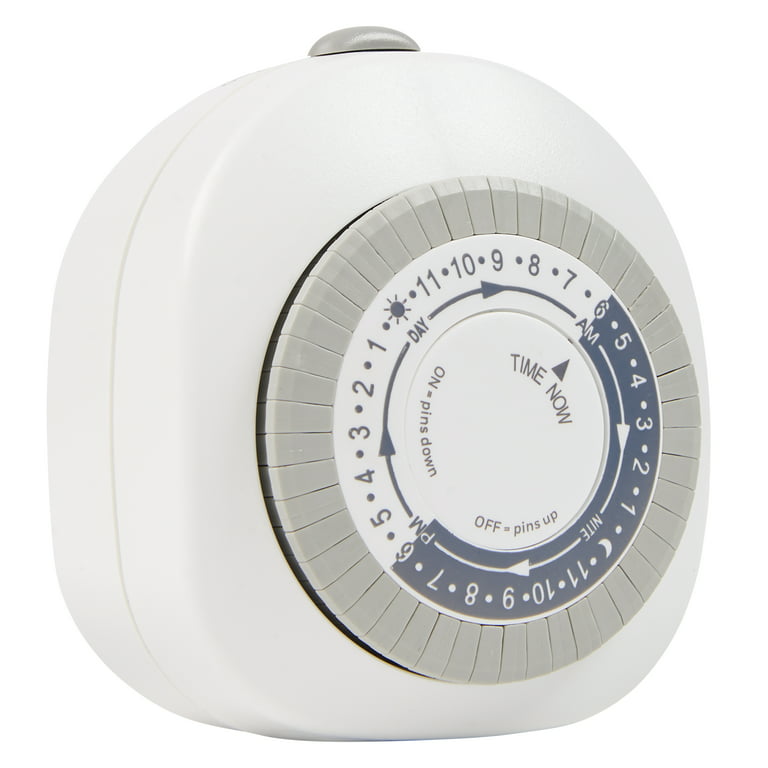
2. Unpacking and Understanding the Timer

Before diving into programming, it’s crucial to understand your Noma Timer fully. Begin by unpacking the timer and familiarizing yourself with its components, including the LCD screen, buttons, and power source.

3. Setting Up the Noma Timer

To start using your Noma Timer, you need to set it up correctly. This involves inserting the batteries, connecting it to the device you wish to control, and ensuring it’s in a location where it can receive signals effectively.

4. Programming the Timer

4.1. Date and Time Configuration

The first step in programming your Noma Timer is setting the date and time. This is essential for scheduling tasks accurately. Refer to the user manual for step-by-step instructions on how to do this.

Continue reading

Mechanical minimizer test

Mechanical Minimizer Test: Unlocking Efficiency in Machinery

Introduction

In the world of engineering and mechanics, optimizing efficiency is paramount. The mechanical minimizer test is a critical tool that engineers and manufacturers utilize to enhance the performance of various mechanical systems. In this comprehensive guide, we will delve into the intricacies of the mechanical minimizer test, exploring its purpose, methodology, and the significant impact it has on the world of machinery. So, let’s dive in!

Understanding the Mechanical Minimizer Test

What is the Mechanical Minimizer Test?

The Mechanical Minimizer Test, often referred to as MMT, is a crucial evaluation process used to minimize inefficiencies in mechanical systems. This test primarily focuses on improving the overall performance of machinery and equipment, making them more energy-efficient and reliable.

The Significance of Efficiency

Efficiency in machinery is a key factor that directly affects operational costs, environmental impact, and productivity. By enhancing efficiency, manufacturers can reduce energy consumption, extend the lifespan of machinery, and reduce downtime for maintenance.

The Working Principle

Identifying Inefficiencies

The first step in the mechanical minimizer test is to identify areas of inefficiency within a mechanical system. This involves a thorough inspection and analysis of the machinery’s components, including motors, gears, and bearings.

Continue reading

Lap mechanical 24hour immersion timer instructions

Lap Mechanical 24-Hour Immersion Timer Instructions

In today’s fast-paced world, managing our time efficiently has become crucial. Whether you’re a busy professional juggling work tasks or a homemaker trying to keep up with household chores, having a reliable timer can be a lifesaver. The Lap Mechanical 24-Hour Immersion Timer is a versatile tool that can help you streamline your daily activities. In this article, we’ll provide you with a comprehensive guide on how to use this timer effectively. Let’s dive in!

Introduction to Lap Mechanical 24-Hour Immersion Timer

The Lap Mechanical 24-Hour Immersion Timer is a user-friendly device designed to assist you in managing your time efficiently. Whether you need it for cooking, exercising, or any other timed activity, this timer has got you covered.

Unboxing and Initial Setup

Upon unboxing, you’ll find the Lap Mechanical 24-Hour Immersion Timer along with a user manual. The initial setup is a breeze, and it won’t take long before you start using the timer to your advantage.

Understanding the Timer Display

Before we delve into the setup process, it’s essential to understand the timer’s display. Familiarize yourself with the layout, including the hours and minutes indicators, to navigate effortlessly.

Setting the Timer

Step 1: Power On

To get started, press the power button located on the timer’s front panel. You’ll see the display light up, indicating that the timer is ready for configuration.

Continue reading

Indoor grounded timer ht1023 instructions

Indoor Grounded Timer HT1023 Instructions

In today’s fast-paced world, convenience is key, and that extends to our daily routines and household tasks. One such convenience is the use of indoor grounded timers, like the HT1023, which can help automate various electrical devices around your home. Whether you want to schedule your lights, appliances, or other gadgets, this article will provide you with a comprehensive guide on how to use the Indoor Grounded Timer HT1023 effectively.

Understanding the Basics

Before delving into the detailed instructions, let’s start with the basics. The Indoor Grounded Timer HT1023 is a user-friendly device designed to simplify your life by automating the operation of your electronic appliances. With customizable settings, it allows you to turn devices on and off at specified times, ensuring energy efficiency and security.

Unboxing and Initial Setup

  1. Open the Box: Begin by opening the packaging carefully, ensuring you don’t damage any components.
  2. Inspect the Contents: Check the box for the timer unit, an instruction manual, and any additional accessories.
  3. Read the Manual: Take a few minutes to read through the instruction manual thoroughly.

Programming Your HT1023 Timer

Now that you’re familiar with the basics, let’s move on to programming your Indoor Grounded Timer HT1023. Follow these steps to get started:

Continue reading